


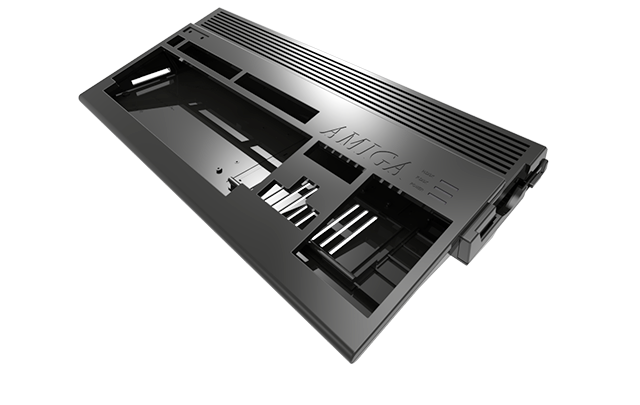
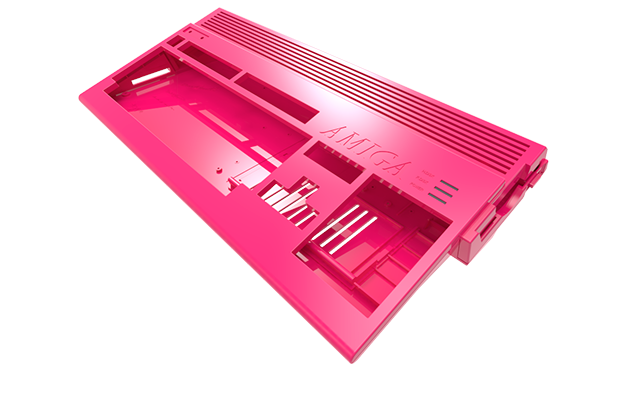
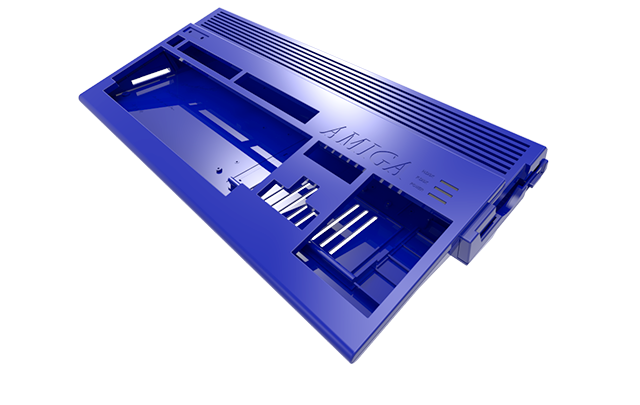
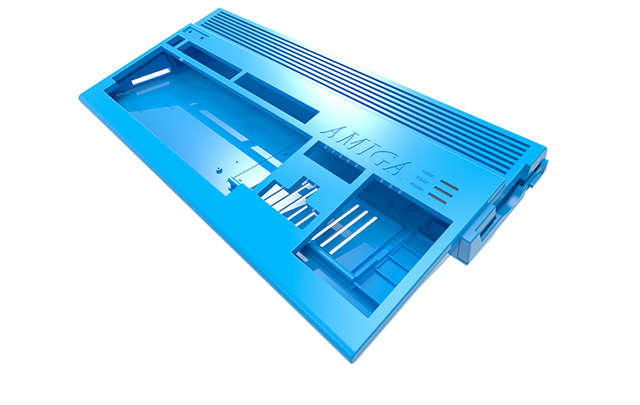


The New Amiga 1200 Cases
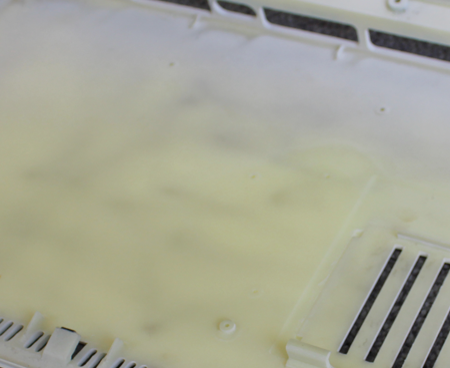
Over time, your 30-year-old Amiga 1200 cases may have yellowed due to UV light exposure and the fire retardant in the plastic. While Retr0brighting offers a temporary fix, it often damages the case. Our new Amiga 1200 case, made from better UV-resistant plastic, retains its color longer, providing a fresh, modern look while preserving the original feel of your Amiga 1200. Perfect for retro computing enthusiasts.
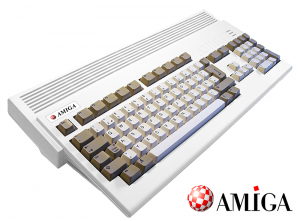

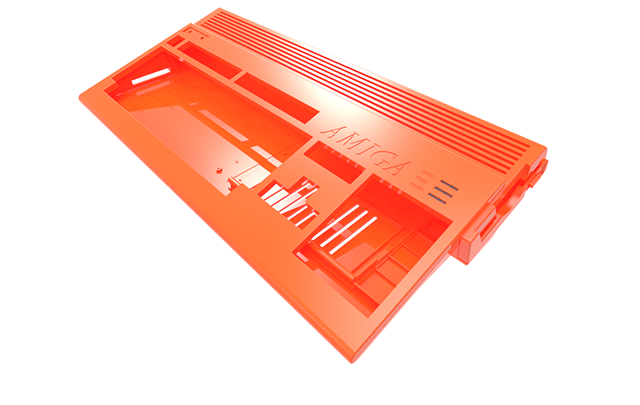
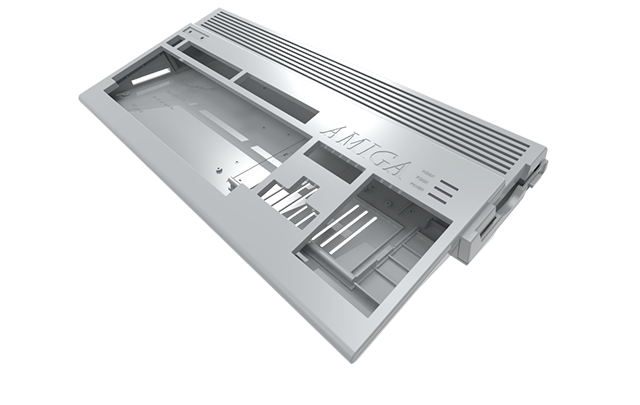
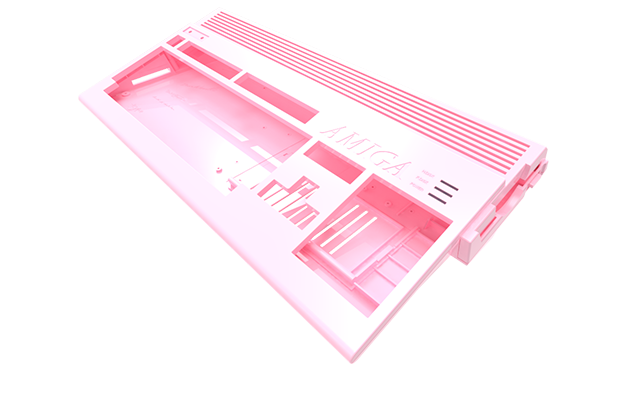
Modern yet true to the original

Introduction
The new cases are made using Injection Molding manufacturing technique to produce top and bottom shells as well as trapdoors and parts.
The process implies the use of 3 new molds.
First mold for the top shell, second unit for the bottom shell and last one for trapdoors and parts.
General Specifications
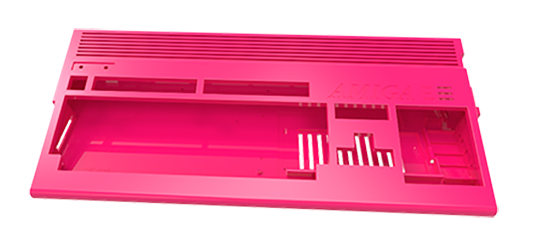
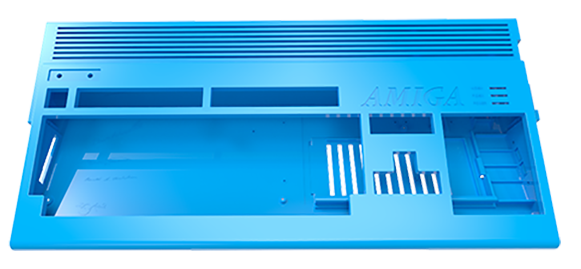
The new cases are perfect replicas of Commodore design.
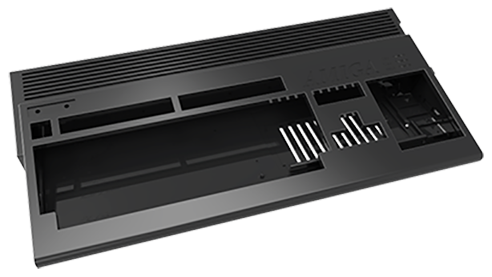
Some areas of the case are enhanced to ease the installation of modern expansion devices.
Differences between original Commodore case and the new A1200 case
- The plastic is more resistant to UV alteration. To avoid the case to turn yellow over time
- All screws are secured with metal brass inserts. No more broken plastic clips
- The bottom trapdoor has extra vents for a better case air flow
- 2 new rear trapdoors are available to accommodate VGA and DVI. The third one is a Plain door.
- The case supports the following modern devices : Raspberry Pi©, MiST© FPGA, Keyrah© V2 keyboard adapter, RapidRoad© DoubleUSB and Lotharek© HxC Floppy emulator
- Multiple colors available (*subject to distributors)
Details overview
The case is a perfect replica of the original Amiga 1200 case by Commodore. It supports all Amiga 1200 motherboards and hosts enhancements to make it compatible with modern devices.
General
Made of Anti-UV plastic to prevent the case to turn yellow after several years of use.
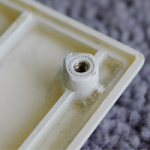
Brass Inserts & Screw dimensions
The case can be opened and closed hundreds of times with the help of 8x metal screw brass inserts.
screw dimensions
- 5x PM3 * 5mm (φ 5.2)
- 3x PM3 * 25mm (φ 5.2)
Screw brass inserts
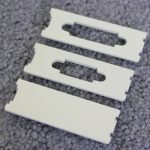
Rear trapdoors
The rear plain trapdoor comes with 2 extra doors allowing the use of VGA and DVI.
Extra rear trap doors
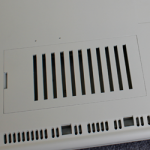
Bottom trapdoor
The lower trapdoor has vents for better airflow.
Vents on trapdoor
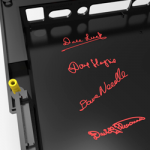
Amiga legends
The new Amiga 1200 case is endorsed by Amiga legends who agreed to add their signature on the bottom shell.
Amiga legends signatures
What’s in the box
1x Top Shell with enhancements
1x Bottom Shell with enhancements
3x Rear trapdoors (1x Plain/1x VGA/1x DVI)
1x Bottom trapdoor with vents
1x Set of screws
1x Set of rubber feet
(optional: 5 to 10 standoffs for Rpi/KeyrahV2)
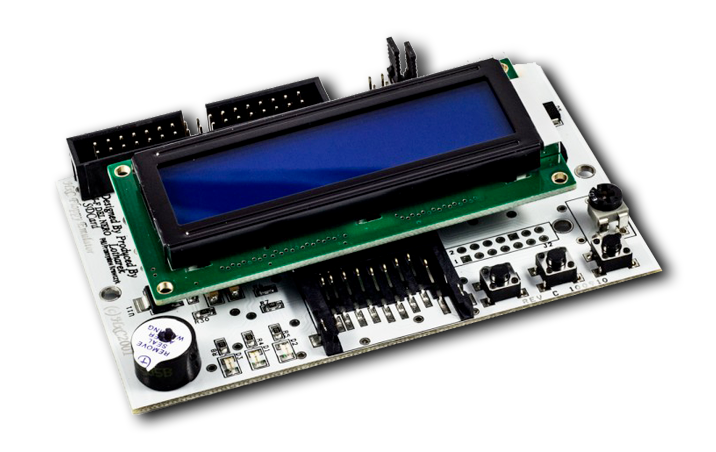 |
HxC Floppy Emulator installation overview |
It is possible to install an HxC Floppy emulator and its LCD Panel to designated locations.
Mounting points are available for the HXC mainboard and the LCD panel. The panel is removable from the mainboard.
HxC Floppy Emulators are available from Amigastore.eu.
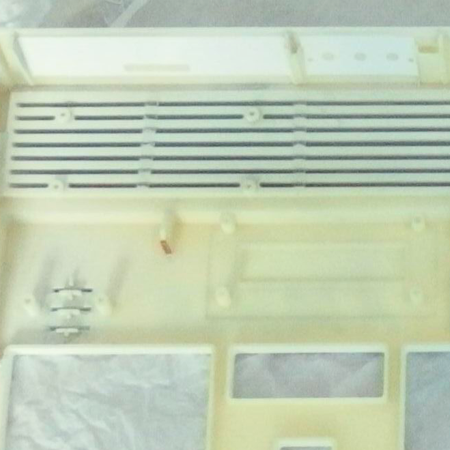
HxC elements not installed
Mounting points are visible both for
HxC board and LCD panel.
HxC elements installed
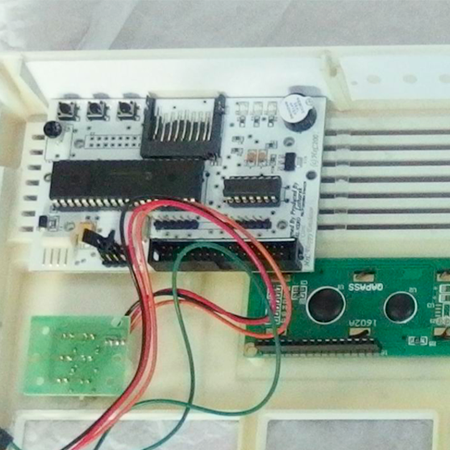
HxC Floppy Emulator Developed by Jean François Del Nero.
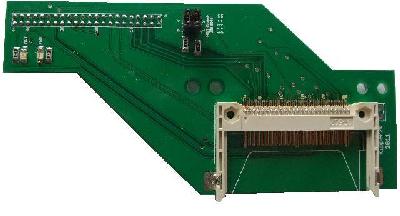 |
External CF Adapter installation overview |
The locations to install both the HxC Floppy emulator and the LCD Panel board are described below.
Mounting points are available for both boards as the LCD panel is removable from the main device board.
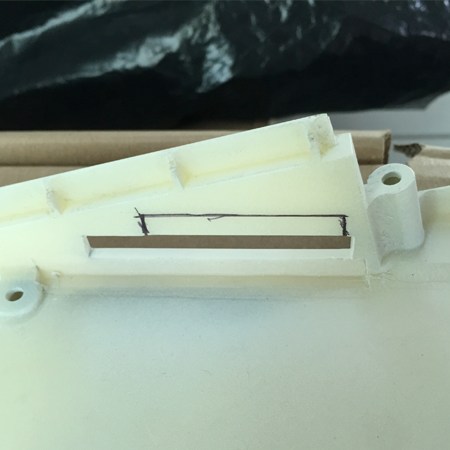
CF Slot location
A recess is visible on top of PCMCIA slot
Open the recess to make use of CF slot
External CF Adapter Developed by Kipper2K.
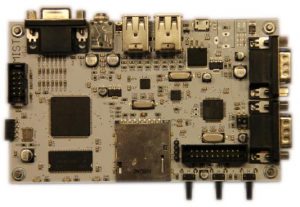 |
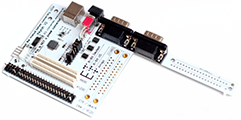
MiST FPGA Board installation overview |
The board can be installed at the best suitable position, on the lower part of bottom shell. As a result, there is enough room around the board for I/O connectors.
Board mounts location
MiST Board no installed
Board mounts location
MiST Board installed
![]()
MiST – FPGA Developed by Till Harbaum and Lotharek.
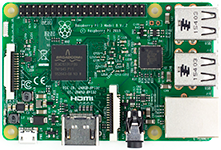 |
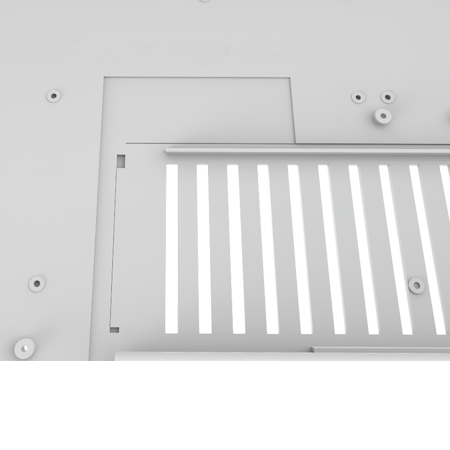
RASPBERRY PI 2/3 Board installation overview |
Pi mounts are located within upper right part of bottom shell. As PI users can utilize the keyboard adapter, the board is mounted at the best suitable position. Enough room around the board is available for I/O connectors and nice cable management.
Raspberry Pi mounts location
Pi not installed
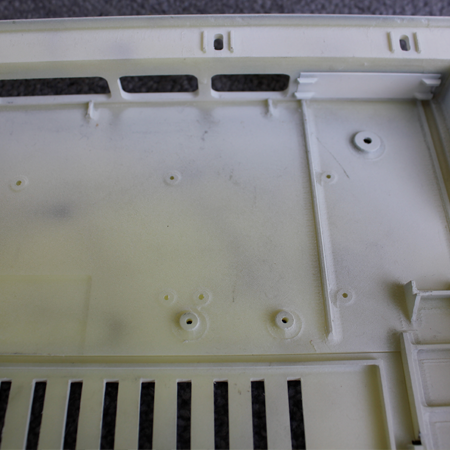
Raspberry Pi mounts location
PI Board installed
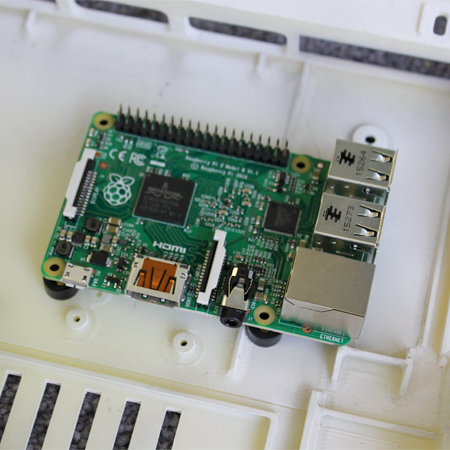
![]() Raspberry Pi is a trademark by the Raspberry Pi Foundation
Raspberry Pi is a trademark by the Raspberry Pi Foundation
 |
Keyrah V2 installation overview |
Keyrah V2 keyboard adapter mounts are located at middle top of bottom shell. This location make the keyboard adapter available for Raspberry Pi or MiST board. Original Amiga 1200 keyboard ribbon will fit nicely just at the right place on the keyboard adapter board. I/O connectors are accessible through rear panel I/O slots.
Keyrah mounts location
Keyboard adapter not installed
Keyrah mounts location
Keyboard adapter installed
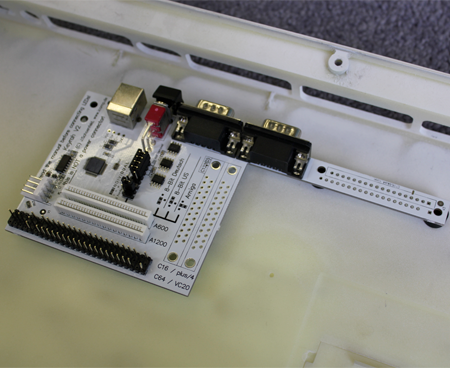
Keyrah V2© is a product manufactured and copyrighted by Individual Computers.
